Building a Simple Counter App
After creating a new Poly project,
let’s create a counter app as a gentle introduction to Poly.
In this guide, we will use TypeScript to create the app, using the poly and the poly-widgets TypeScript library.
The Main File
Before writing any code, let’s have a look at the main file src/main.ts.
When building the binary of the portable layer, this main file is fed into the compiler.
Then, the compiler produces a single binary that is spawned by the native layer when running the app,
which runs the main function defined in the main file. Now, let’s go through the main function.
The Context Object
The first point of interest is the following snippet
const context = createApplication({ messageChannel: new StdioMessageChannel(),});The createApplication function, exported by poly, creates a context object that stores all the runtime information of the application,
such as created views and registered callbacks.
Pass this context to any Poly API that asks for a context object.
An instance of StdioMessageChannel is used as the channel between the portable layer and the native layer for exchanging messages.
The Application Instance
After creating the context object, it is used to start the application:
const instance = runApplication(context);The runApplication function, also exported by poly,
returns a Promise that will awaited at the end of the main function to keep the application alive.
Application Logic
In between awaiting the instance and the call to runApplication is where the application logic resides,
such as drawing the UI and creating windows.
In this case of creating the counter app, this is where the UI of the counter and the logic of the counter sits.
By default, the main function creates an empty window that has the application name as its title:
await createWindow( { title: "Counter", description: "A counter app written in TypeScript.", width: 600, height: 400, tag: "main", }, context,);The tag is a handle to the window.
It is useful, for example, when specifying where to display the created widgets, which we will get into later on this page.
It must be unique amongst all the windows created by the application.
Keeping the Application Alive
Finally, this line:
await instancekeeps the application run loop alive.
Making the Counter UI
The counter UI consists of three elements: the current count, the increment button, and the decrement button, all inside a column in order.
Let’s define a class called CounterScreen that encapsulates the UI code and the logic of manipulating and keeping track of the count. Create a new file called counter-screen.ts next to main.ts:
import { type ApplicationContext } from "poly/application"import { type Widget, WidgetController } from "poly-widgets"
class CounterScreen extends WidgetController {  constructor(context: ApplicationContext) {    super(context)  }}
export { CounterScreen }
CounterScreen subclasses WidgetController, which is an abstract class that defines the interface
for a class that controls and holds references to widgets.
In this case, CounterScreen will hold a reference to the counter text label because we will need it to update its content.
Defining the UI tree
poly-widgets exports a variety of widgets that can be composed together to form the UI.
Let’s first create a Text to display the current count.
import { type ApplicationContext } from "poly/application"import {  type Widget,  Text,} from "poly-widgets"
class CounterScreen extends WidgetController {  private count = 0
  private readonly countText: Text;
  constructor(context: ApplicationContext) {    super(context)
    this.countText = new Text(context)    this.countText.content = `${this.count}`  }}
export { counterScreen }
Here, we are creating a new instance of Text and settings its initial content to the initial count (this.count) which is 0.
We are also storing a reference to the Text under this.countText so that we can use it later when we need to update it.
Let’s create the increment and the decrement buttons, as well as defining the callbacks when they are clicked:
import { type ApplicationContext } from "poly/application"import {  type Widget,  type PolyWidget,  Text,  Button,} from "poly-widgets"
class CounterScreen extends WidgetController {  private count = 0
  private readonly countText: Text;  constructor(context: ApplicationContext) {    super(context)
    this.countText = new Text(context)    this.countText.content = `${this.count}`
    const incBtn = new Button(context);    incBtn.label = "+";    incBtn.onClick = this.incrementCounter.bind(this);
    const decBtn = new Button(context);    decBtn.label = "-";    decBtn.onClick = this.decrementCounter.bind(this);  }
  private incrementCounter() {
  }
  private decrementCounter() {
  }}
export { counterScreen }
We want to put the count text and the buttons in a column, so we are going to use the Column widget:
import { type ApplicationContext } from "poly/application"import {  type Widget,  type PolyWidget,  Text,  Button,  Column,} from "poly-widgets"
class CounterScreen extends WidgetController {  private count = 0
  private readonly countText: Text
  constructor(context: ApplicationContext) {    super(context)
    this.countText = new Text(context)    this.countText.content = `${this.count}`
    const incBtn = new Button(context)    incBtn.label = "+"    incBtn.onClick = this.incrementCounter.bind(this)
    const decBtn = new Button(context)    decBtn.label = "-"    decBtn.onClick = this.decrementCounter.bind(this)
    const col = new Column(context);    // Center-align the children along the horizontal axis of the column    col.horizontalAlignment = Alignment.CENTER;    col.addChildren(this.countText, incBtn, decBtn);  }
  private incrementCounter() {
  }
  private decrementCounter() {
  }}
export { counterScreen }
To center everything in the window, we are going to wrap the column with a Center widget:
import { type ApplicationContext } from "poly/application"import {  type Widget,  type PolyWidget,  Text,  Button,  Column,} from "poly-widgets"
class CounterScreen extends WidgetController {  private count = 0
  private readonly countText: Text
  constructor(context: ApplicationContext) {    super(context)
    this.countText = new Text(context)    this.countText.content = `${this.count}`
    const incBtn = new Button(context)    incBtn.label = "+"    incBtn.onClick = this.incrementCounter.bind(this)
    const decBtn = new Button(context)    decBtn.label = "-"    decBtn.onClick = this.decrementCounter.bind(this)
    const col = new Column(context);    // Center-align the children along the horizontal axis of the column    col.horizontalAlignment = Alignment.CENTER;    col.addChildren(this.countText, incBtn, decBtn);
    const center = new Center(context);    center.child = col;  }
  private incrementCounter() {
  }
  private decrementCounter() {
  }}
export { counterScreen }
We need to let Poly know the root view of our screen (which is a WidgetController),
so we also need to implement the widget(): PolyWidget method from WidgetController.
import { type ApplicationContext } from "poly/application"import {  type Widget,  type PolyWidget,  Text,  Button,  Column,} from "poly-widgets"
class CounterScreen extends WidgetController {  private count = 0
  private readonly countText: Text  private readonly rootView: PolyWidget
  constructor(context: ApplicationContext) {    super(context)
    this.countText = new Text(context)    this.countText.content = `${this.count}`
    const incBtn = new Button(context)    incBtn.label = "+"    incBtn.onClick = this.incrementCounter.bind(this)
    const decBtn = new Button(context)    decBtn.label = "-"    decBtn.onClick = this.decrementCounter.bind(this)
    const col = new Column(context)    // Center-align the children along the horizontal axis of the column    col.horizontalAlignment = Alignment.CENTER    col.addChildren(this.countText, incBtn, decBtn)
    const center = new Center(context)    center.child = col    this.rootView = center  }
  public override widget(): PolyWidget {    return this.rootView  }
  private incrementCounter() {
  }
  private decrementCounter() {
  }}
export { counterScreen }
Modifying the Counter
When the increment button is clicked, the counter needs to be incremented and the count text updated. We can do that in the incrementCounter method:
class CounterScreen extends WidgetController { // ... private incrementCounter() { this.count += 1 this.countText.update(() => { this.countText.content = `${this.count}` }) } // ...}Same for the decrement button:
class CounterScreen extends WidgetController { // ... private decrementCounter() { this.count -= 1 this.countText.update(() => { this.countText.content = `${this.count}` }) } // ...}When updating any widget in Poly, the update method needs to be called.
It accepts a callback in which updates on the widget should be done.
The update method lets Poly know that the widget is updated and needs to be redrawn.
Now, when the increment button is clicked, incrementCounter is called, which increases the count variable by one and updates the counter text with the new count.
When the decrement button is clicked, decrementCounter is called, which decreases the count variable by one and updates the counter text accordingly.
Showing the Counter Screen
Now that we have created the counter screen, let’s import it in the main file and display it:
import { createApplication, runApplication } from "poly/application";import { StdioMessageChannel } from "poly/bridge";import { createWindow } from "poly/window";import { CounterScreen } from "./counter-screen.js";
async function main() { const context = createApplication({ messageChannel: new StdioMessageChannel(), });
const instance = runApplication(context);
createWindow( { title: "TestApp2", description: "A Poly application written in TypeScript.", width: 600, height: 400, tag: "main", }, context, );
const screen = new CounterScreen(context); // obtain the root widget of the screen and show it in the "main" window screen.widget().show({ window: "main" })
await instance;}
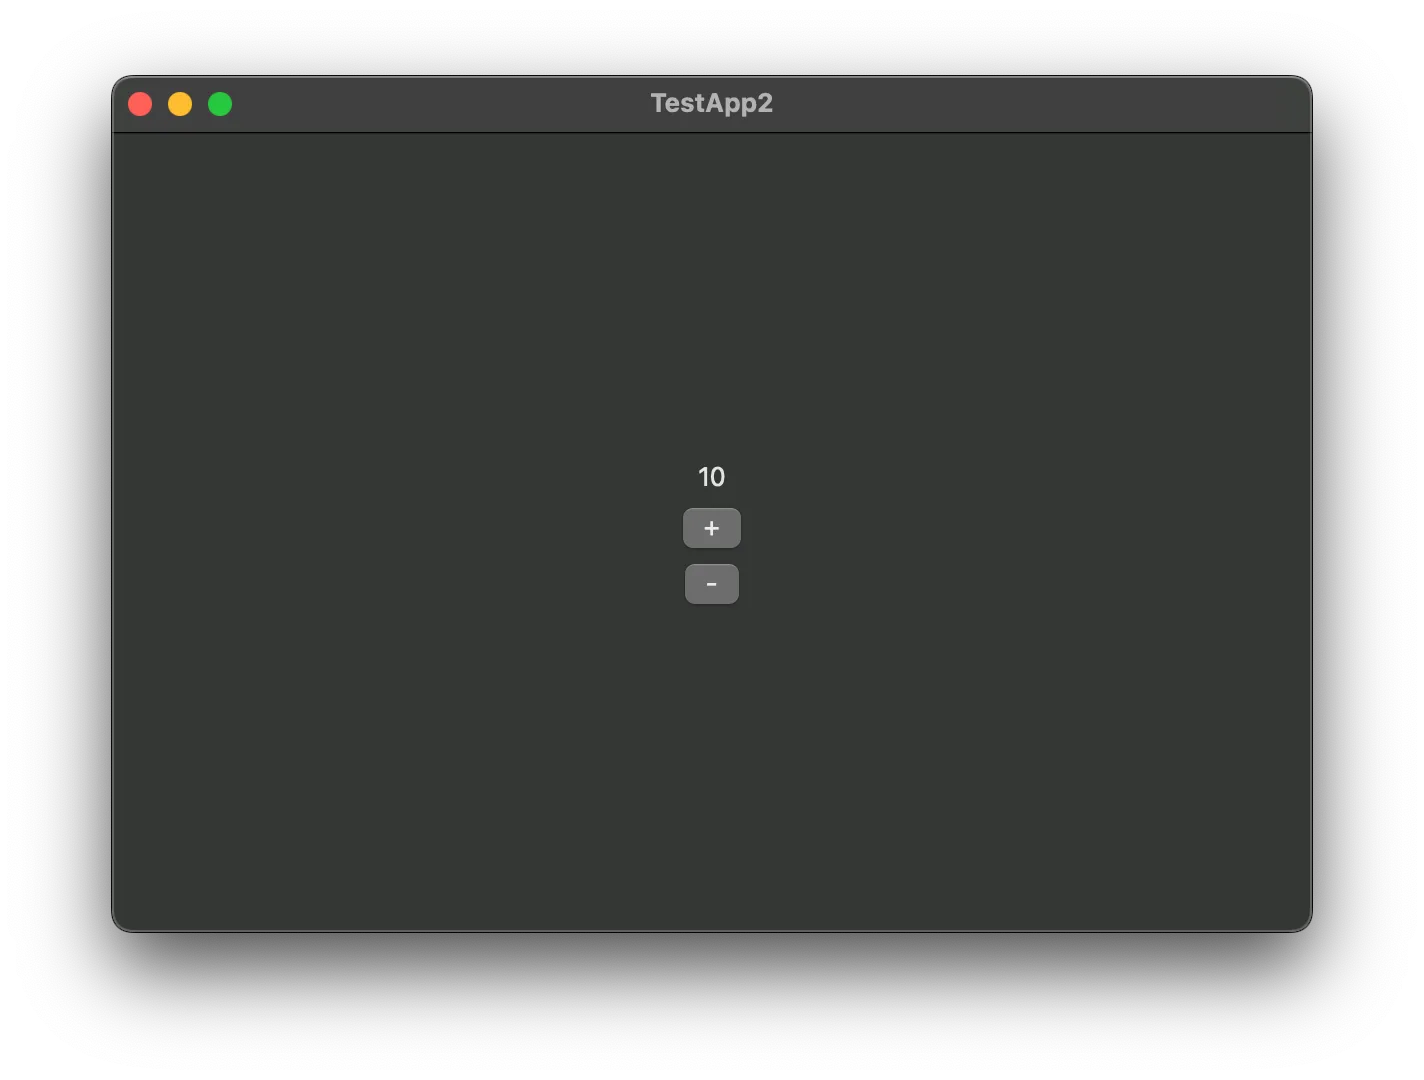
main()Running the Application
We have finished creating the counter! Before running the application, we need to compile the TypeScript code first:
pnpm run buildThis generates a binary named bundle in <project-name>/build:
MyNewApp/├── gtk/│ ├── packaging/│ │ ├── rpm/│ │ │ └── app.spec│ │ └── launch.sh│ ├── src/│ │ └── main.cxx│ └── CMakeLists.txt├── macOS/│ ├── MyNewApp/│ │ ├── AppDelegate.swift│ │ └── main.swift│ ├── MyNewApp.xcodeproj│ └── project.yml├── build/│ └── bundle└── app/ ├── src/ │ └── main.ts ├── package.json └── tsconfig.jsonNow, open the .xcodeproj file in the macOS folder in XCode. Wait for XCode to finish building the project, then hit the Run button.
That’s it! You have successfully created your first Poly application with TypeScript.